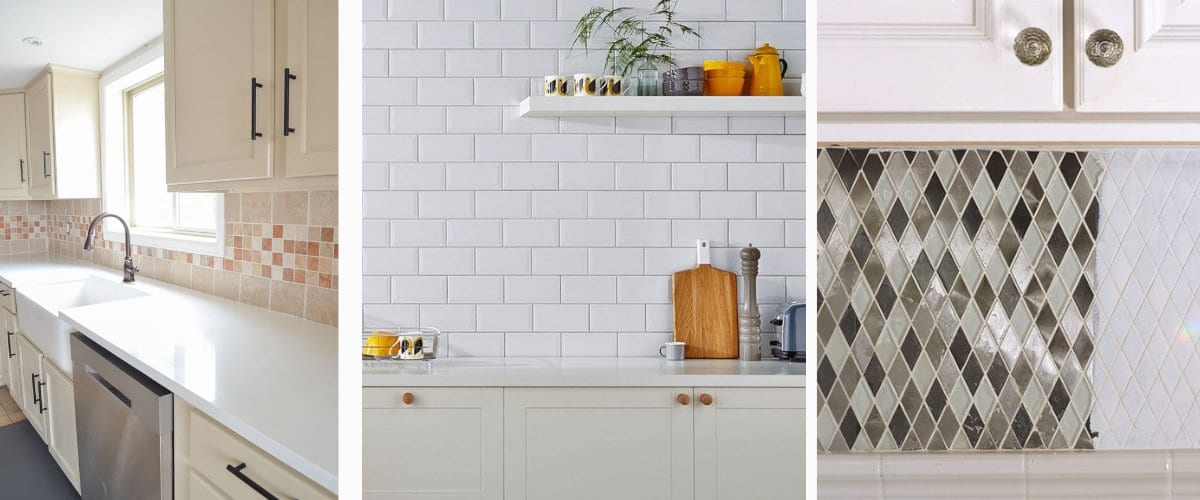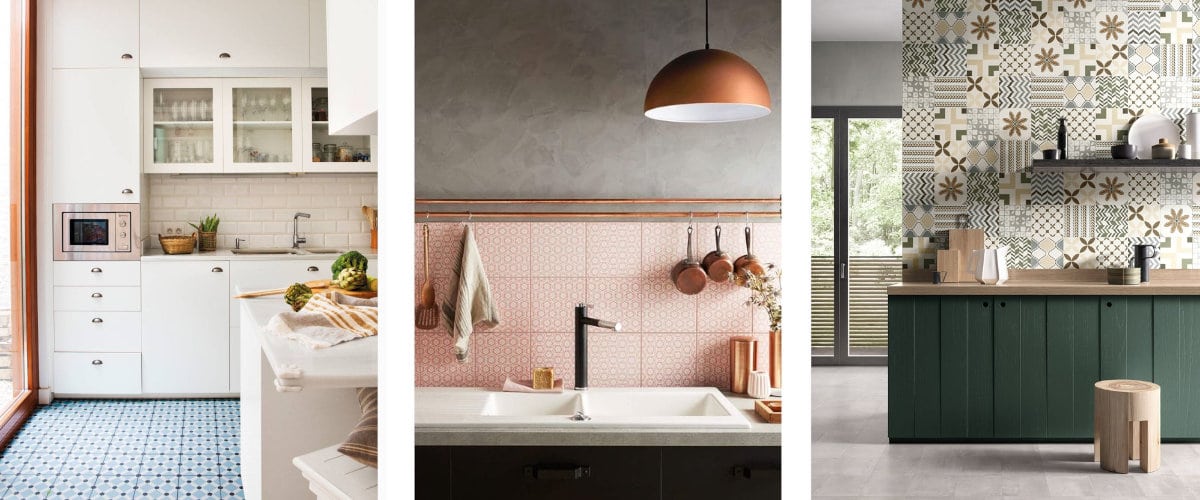
Is your kitchen old? Do you want to modernize it but the works scare you? Getting into a work not only requires an investment but also desire. If you don't think this is the time for it, today we propose two ways to change kitchen tiles without work that will transform it.
Tiles are heavy view in the kitchen. Changing them will make the kitchen come alive, make it look like new. And it is possible to do it without work, either by placing new ones on the old tiles, or by painting them. Do you dare to try it? We tell you everything you need to carry out this project.
Lay new tiles on top of old
When the tiles that decorate the kitchen are not only outdated but also deteriorated, we all recognize the need to change them. However, the fear that almost all of us have of doing great works at home means that we usually delay the moment.

What if we avoid the works? To lay new tiles on top of old ones, all you need is desire. Yes, you can do it yourself if you have the disposition and time for it. You will need, yes, one material's list to carry out the work with the greatest comfort and the best results:
- New tiles
- Specific glue for gluing tiles on tiled walls
- 2mm crosspieces
- notched trowel
- grouting trowel
- Palette
- Mortar for joints
- Sponge
- Level
- A tile cutting machine
- One meter
- A bucket for the mixtures.
Step by step
Do you already have all the materials? Then you can start change kitchen tiles. How? Following the step by step that we share below, working from the bottom up and always keeping in mind the way to use each material that its manufacturer proposes.

- Starts with remove the adhesive and apply it on the clean wall with the trowel, using the smooth part, in a strip wide enough to place three or four tiles. Make sure it completely covers the old tiles.
- After comb the wall with the toothed part of the trowel to uniform and achieve the small and necessary air chambers.
- Once well spread place the first tile checking that it is level. Once level, press with your fingers so that it is well adhered.
- Then place the plastic cross braces at the four ends of the tile to make the joints equal and add the following ceramic pieces around it.
- When you finish tiling the wall wait for the adhesive to dry completely to remove the plastic cross braces.
- Once done prepare the grout with mortar for joints and apply the mixture on the tiles with the grouting trowel. Let it dry.
- Finally, clean the tiles with a wet sponge.
Paint the tiles
Painting is another solution to change kitchen tiles without work. Simpler and cheaper than to tile the kitchen again. A change of color will make your kitchen look like another and you will only need a couple of days of work to achieve it.
There are different types of paint on the market that are suitable for painting these ceramic surfaces. You can apply a coat of primer and then a paint; apply a tile glaze; or a highly wear-resistant tile resin that is applied in two steps. The more specialized the paint, the more resistant it is, but it may happen that it is available in fewer colors.

Step by step
To guide you in the step by step necessary to change kitchen tiles with a coat of paint, today we focus on the first two proposals, those that use primer and paint or primer directly. Shall we start?
- clean the tiles, removing any traces of limescale with vinegar and thoroughly degreasing the surface with a cloth soaked in acetone or alcohol.
- Cover the ground with plastic and protects sockets, switches and edges with masking tape.
- Are you going to use a paint that requires primer to promote their adherence? Stir the primer and pour it into the bucket. Then apply it with a round brush in those places where the roller. Then continue with the roller, alternating one coat in one direction and another across. Once the primer is applied and without waiting for it to dry completely, remove the masking tape from the edges to prevent the paint from chipping. Then let it dry.
- Protect again with masking tape everything that is necessary and now apply the paint beating the product before. Do it following the same steps as with the primer. and respecting the times of the manufacturer between layer and layer if more than one is needed. As with the primer, remember to remove the masking tape before it dries completely.
Will you dare to change the kitchen tiles without work by betting on one of these options that we propose today? By which?