
How to line a closet. Images of lilibroc y A beautiful mess
Are your cabinets damaged? Do they need a makeover to fit into a new space? Whatever the reason for wanting renew the image of your cabinets Lining them will help you achieve this. Don't you know how to do it? Don't worry, in Decoora Today we show you how to line a closet to achieve the best result.
Lining a wardrobe will help you not only to renew its appearance but also to adapt it to a new style. Also, if it is very rough, lining it will help protect the clothes you keep inside. Now to do it alone you will need papers, fabrics or vinyl, as we explain below.
Materials to line cabinets
To line a wardrobe you don't need many materials and the result is excellent. Before you get to work, however, You must choose the material that you will use to cover them. Wallpaper, fabric or vinyl? Each of these materials will provide a unique finish, texture and characteristics to your project.
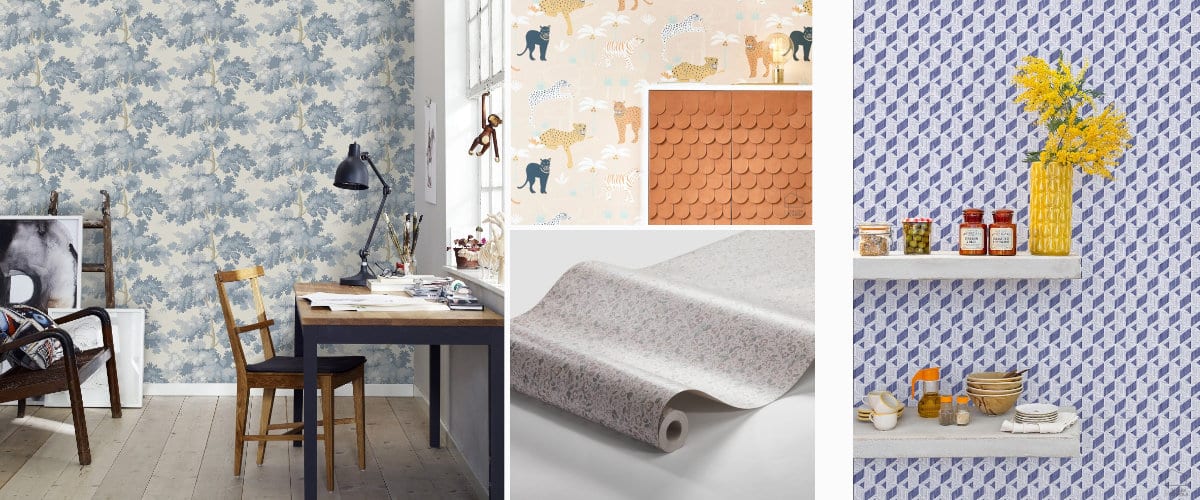
Carola's workshop wallpapers
- Painted paper. Wallpaper is suitable for lining both doors and wardrobes as long as they are not too damaged. It is not the easiest material to work with, especially when it comes to a large surface, but the result is very good. And why is it not easy to work with him on a large surface? Because depending on the "rapport" of the paper, you might have to match the paper for the drawing to make sense and if you don't have experience it could be a bit frustrating.
- Screen. Fabrics, especially upholstery fabrics, are great allies to hide the damage of an old wardrobe. However, they can be more expensive to work with. You can glue them, but the ideal, especially when working on the outside of the wardrobe, would be to cover some thin wooden boards with foam and then place the covered boards in the wardrobe.
- Vinyl. It is very easy to work with vinyl and that is one of its great advantages. They are easily removed and put on. They are the favorites when it comes to lining the interior of a cupboard or cabinet with glass doors, drawer fronts or panels.
Whichever option you choose, there will be something you should always pay attention to: the dimension of the stamped motifs. It will have to be proportionate to the size of the surfaces you want to cover. If you are going to buy it online, make sure that it indicates the size of the repeated motifs or you could be disappointed when you receive it.

Have you already chosen the material you are going to use? Remember that depending on the chosen material you will also need an adhesive. Make sure you buy the right adhesive so that the final result is the best and the most durable.
Step by step
Have you decided to line a wardrobe? Before buying anything, we advise you to read the following step by step. It is a general guide but it will give you clues about what tools you will need and how you should work to achieve the best result. Shall we start?

- Disassemble the closet. No one wants to have to disassemble a wardrobe and on many occasions it is not even possible to do so, but we have an obligation to tell you that working each part separately is much more comfortable and contributes to better finishes, especially when working inside. So if you have a chance, remove the shelves and remove the doors.
- Measure the surface you want to cover. Only then will you know the amount of material you will need to make it. Write down the measurements and take them with you wherever you go to buy the paper or fabric to cover it. So you can check, in addition to choosing a patterned motif, that it is proportionate.
- Sand the furniture. Sand the cabinet to remove any imperfections it may have and make it easier to work with the respective materials. If, in addition, the cabinet has notable damage and you are going to use paper to cover it, correct it, using a little putty.
- Prepare the material. Measure the surface you want to cover or place the material on it and cut out what is necessary to cover it. Depending on the material and the surface to be covered, it might be convenient or necessary to add a few extra centimeters. In the case of paper to work more safely and cut it with a cutter once glued. In the case of the fabric to be able to staple it to the back of the wooden panels in the case of using this system.
- line the surface. Apply glue if necessary and line the surface with the chosen material, ensuring that it is smooth, without wrinkles or air pockets. And once done, remove the excess or leftover.
It is difficult to dictate a general step by step, since each material has its own peculiarities, but we have tried to do it as well as possible. We hope that our guide is enough to encourage you to carry out your project. Tell us if you do!