
Creating our own furniture is not always as simple a task as it seems, but if there is any piece of furniture that lends itself easily to this challenge, that is without a doubt the table. It can be a table for a kitchen, for a terrace or even for a living room. In this article we are going to see how to make a wooden plank table In a simple way. A task that is within the reach of any of us.
Obviously, what we are going to need is the raw material: a few planks or wooden slats, a base to support them (which can also be made of wood) and some simple tools such as a drill or contact adhesive. Of course, to achieve a good result, our skill and creativity also count. The more the better. Do you dare with this DIY project?
We must insist on the idea that it is not a complicated project. In DIY stores, even in any neighborhood hardware store, we will find everything necessary to create this type of table. Coffee or dining tables that will bring a rustic air to our home. They can be classic or modern, we are the ones who are going to decide which design best suits what we are looking for.
If we are a little skilful and imaginative, we can create true wonders. There are good reasons to do so: in addition to the pleasure of enjoy a DIY afternoon, there is the incentive of save us some money building a table that will cost much less than if we bought it new.
planks or battens
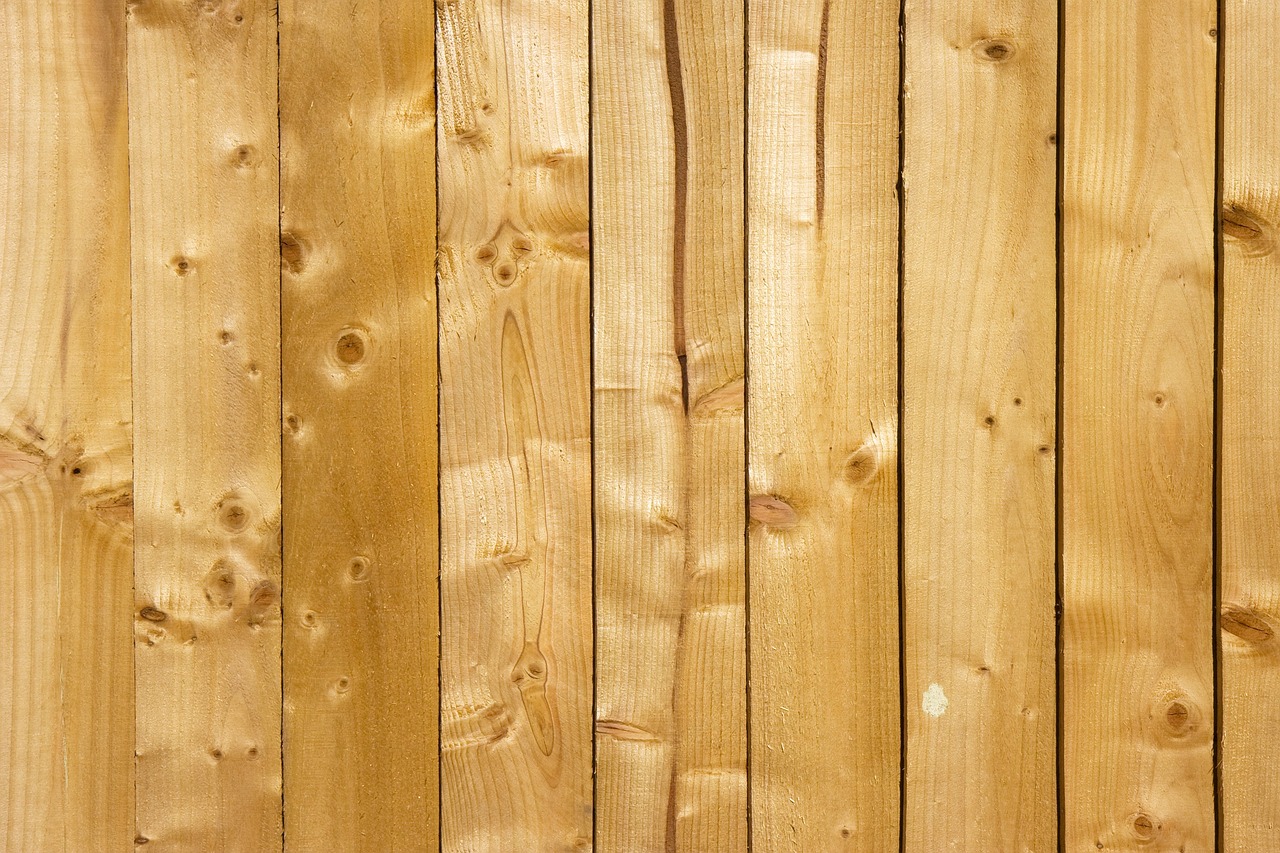
Before we get down to business, let's clear up some basics. Planks or slats? What is the difference? Both are products of sawing wood. The first cut, the one that determines the length of the piece, is made by a main saw; then a second cut made by an edger saw determines the width of the piece.
Depending on these cuts, we will obtain one or the other result. Broadly speaking, we can define it like this:
- The planks or planks of wood They have a rectangular section, with a width ranging from 10 to 30 cm and a thickness equal to or less than 3 cm. In any case, the width always predominates over the thickness.
- The Wood Ribbons they have a thickness between 3,5 and 5 cm, while their width varies between 4,5 and 6,5 cm, almost always with a maximum length of 8 meters. More than enough for a long table.
both one and the other (wider or narrower, more or less thick) become the basis for making both the coffee tables and the dining tables in our DIY proposal. With them we will create the surface of the table, a regular surface that is simple and at the same time practical.
What kind of wood to choose?
Although in principle any type of wood Ok, the truth is that there are some that are more recommended and that will offer us greater durability. Among the most used we must highlight the oak, pine or cedar wood. These are ideal for interior furniture.
If, in addition to resistance, we are looking for a more attractive aesthetic result, our choice must undoubtedly be the cherry wood with its reddish color so elegant. A choice that is also more expensive. In any case, since we are going to have to cut, sand and drill, it is always better Opt for soft woods.
Whatever the final choice, it is very important to treat the wood with anti-humidity products and with protective varnishes before starting the construction of our plank table.
Build a table with wooden planks step by step
Regardless of the design and style that we have in mind for our plank table, the steps to follow to build it will basically always be the same and will be based on the three main elements of this piece of furniture:
- Legs.
- Base or countertop.
- Planks
Table legs and base frame

Although many people choose to use easels, thus achieving a removable table, visually it will be a thousand times better to use wooden legs with fixed supports. The downside is that we will no longer have a "removable" table, but much prettier and with more presence of furniture.
For the legs it is convenient to use thick square cross-section slats. That will give us the consistency and balance we need to properly support the supported structure.
Once the slats have been cut to the appropriate length (which should approximately match the height of the table), they must be attached using lag screws to other slats of similar thickness, but whose length will determine the width and length of the table. In this way we will form a structure on which the base or platform of the board will go.
Let's not forget wedge the lower end of the legs to ensure balance and stability, in addition to preventing direct contact of the wood with the pavement.
base or platform
Some rudimentary wood plank table designs do not incorporate a base or platform for the top table. Visually, there is not much difference, but if we want to make sure that we have a stable and resistant table, it is not the best option.
The base or platform must be fixed to the legs and to the lower structure using self-tapping screws. The base can be made of wood or, even better, metal.. This second possibility will provide greater solidity to the whole. Of course, to drill the metal base we will need a special drill bit.
It goes without saying that the dimensions of the base must exactly match the width and length of the board that it will have to support. Also with the final shape: square, rectangular, oval, round, etc.
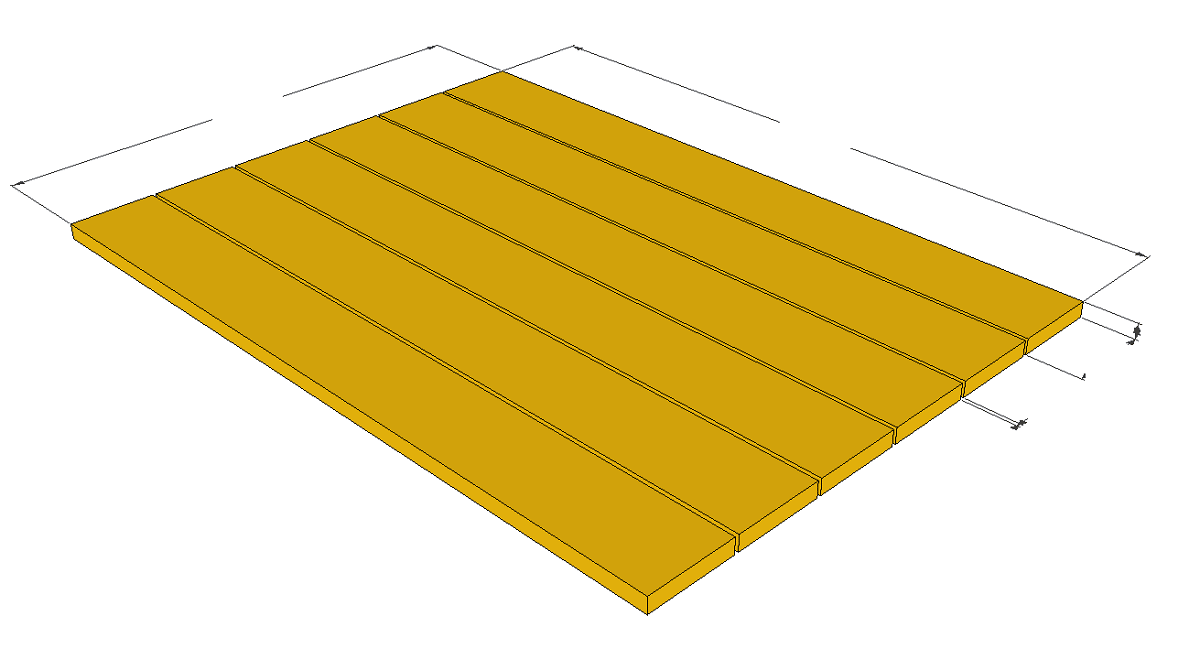
plank surface
Once the base is fixed to the legs, all that remains is the task of lay the planks. The most common is to fix them horizontally and join them to the base with screws. If we use wide planks, two or three will be enough to create a dining table.
This last step leaves us some room for creativity. For example, there is the possibility of playing with two or three rows of tables creating asymmetries. This is how we are going to achieve a rustic effect (using old wood) or a modern one, painting the wood white for example.
Another way to bring some originality to the design is to place the planks vertically as in the third image. Both in the first proposal and in the second, it is convenient to use special adhesive for wood to join the planks and that they are perfectly fixed. We must not forget that the final image of our table will depend as much on the design of the surface.
Images - Nordic Food and Living, Woodgears
Where can you get the table and chairs in the fourth photo?