
Have you decided on Japanese panels to cover your windows? Are you going to use them for separate different environments in a room such as we recently proposed? Whatever the reason you'll need to know how to install japanese panels and that's why we're here, to show you.
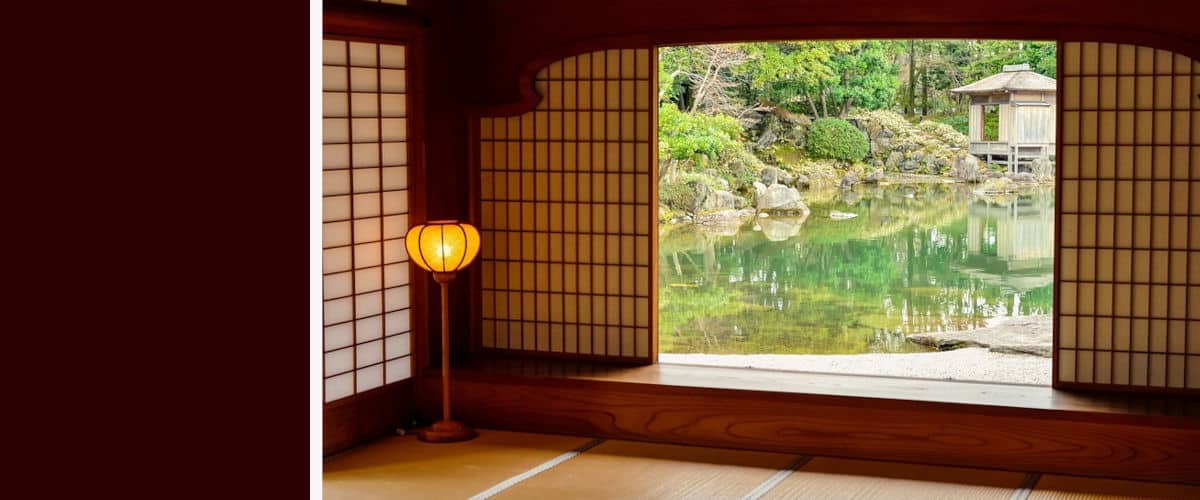
Japanese panels are a great alternative to curtains. A solution inspired by shōji, the classic sliding paper doors with wooden panels typical of Japanese homes, which gives our homes a modern touch. If you can visualize these, you probably already have an idea of what you'll need to install them, right?
What is a Japanese panel?
A Japanese panel is composed of small panels that move horizontally through rails, overlapping each other to provide privacy and / or prevent the passage of light to a greater or lesser extent. In order to emulate a shoji, they are usually made with rigid textiles and present counterweights in their lower area that are responsible for keeping the panels straight.
They are a great alternative to cover large windows from the ceiling to the floor, but they are also suitable for smaller windows, to separate environments in the same room, or even use them as closet doors or in dressing rooms.
How do I install it?
Japanese panels are generally moved in un up to five way rail that goes from side to side of the window and allows the overlapping of the different panels, thus guaranteeing different degrees of privacy and/or passage of light.
Its installation is very simple and very versatile. It can be installed like ceiling or wall blinds and tucked away to one side, both sides or towards the center. Where do you want to install it? Depending on the answer there will be some singularities that you will want to know.
Wall or ceiling?
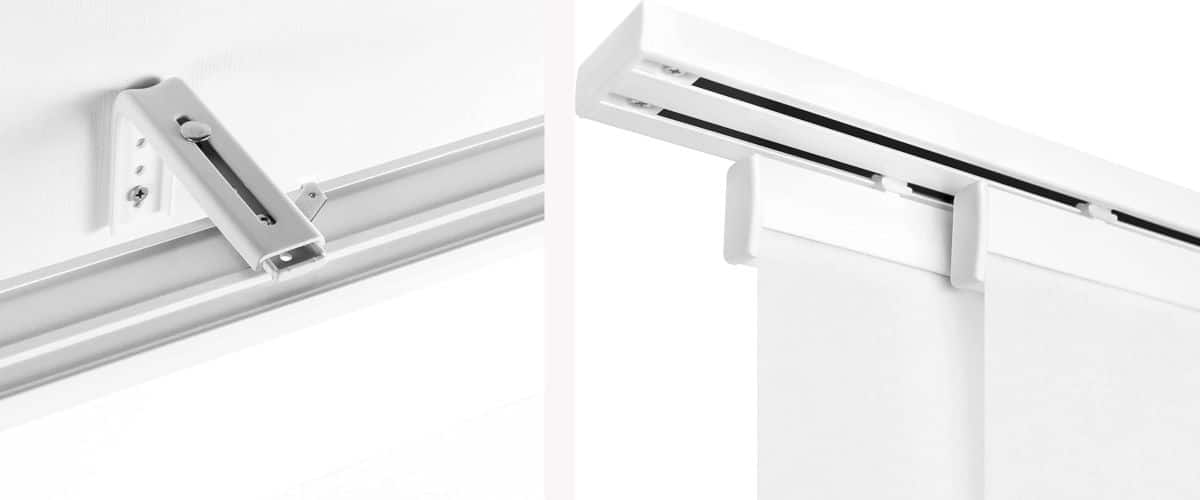
most panels incorporate the necessary mounting system to be installed both on the wall and on the ceiling. However, we have also found a few that only incorporate the elements for installation on the ceiling. And what happens in those cases? That you will have to get some brackets that allow you to place it on the wall, it's that easy!
Necessary materials
The Japanese panels, as we have just mentioned, come equipped with all the elements for assembly. And what are these elements? The rail, of course, wall and ceiling brackets, screws and plugs.
But you will also need some basic tools and materials to install them. A tape measure and a pencil to mark its position, a drill to make the holes, a hammer to insert the plugs, a screwdriver to fix the screws and a ladder.
Step by step
Now that you have the Japanese panel and all the necessary materials for its installation, it's time to get going! You will be able to install Japanese panels only, but it is always easier and faster to work with a second person, so if you can count on someone, even better!
Note: From now on when we talk about supports you should take into account where you are going to install the panel. If it is on the wall, it will be the position of the brackets that you must specify, while if it is on the ceiling, that of the ceiling supports.
- with the subway and mark with a pencil the location of the supports. For this you will need to know the measurements of the Japanese panel that will be given by the manufacturer in order for it to be centered in the window. Measure the window and mark the center point. Then, calculate half the length of the rail and apply that measurement back and forth from the center point, taking the height into account. Please note that each type of support (wall or ceiling) may require a different number of holes.
- Are you going to attach the rails to the wall? This is the time to screw the manufacturer-supplied ceiling brackets into the wall brackets to get them ready.
- Now drill holes in the wall where you made the marks and place the plugs, helping you with a hammer, to be able to fix the supports. Keep in mind that depending on the length of the Japanese panel, the manufacturer could provide some extra support in addition to the two ends. If so, place them evenly spaced along the path of the rail. Do numbers!
- Do you already have the supports fixed? The next step will be to insert the rail into the supports. To do this, you will have to open the tabs and rotate them following the manufacturer's instructions. If you've followed them by now the rail should be secure by now.
- Now place the Japanese panels on the rail. Most have a simple velcro system so it will not be difficult for you to do it.
- After and to finish, insert the bottom weights at the hem of each panel.
- Check that everything works and if so, you can now finish the installation!
Isn't it easy to install Japanese panels?